
How to Replace Roof Vent: Easy 7-Step Guide
Date Modified: April 17, 2026
Need to replace a roof vent to improve your home’s ventilation? This guide will show you how to replace a roof vent in seven simple steps. We’ll cover inspecting your roof, removing the old vent, and installing a new one. You’ll also get tips on the tools you’ll need and safety measures to follow, including how to replace roof vent properly for optimal results.
Key Takeaways
-
Replacing a roof vent improves home efficiency and prevents mold growth by ensuring proper attic ventilation.
-
Thoroughly inspect the existing vent and roof area for damage before installation, and adhere to safety precautions during the process.
-
Proper installation of the new vent, including securing it well and sealing edges, is essential for preventing leaks and maintaining airflow.
How to Replace Roof Vent: Easy 7-Step Guide
Replacing a roof vent requires several steps for a secure and effective installation. Begin by inspecting the existing vent and roof for any issues. Ensure safety precautions are in place while working on the roof. Carefully remove the old vent and prepare the area for the new installation.
Position and secure the new vent, making sure it is sealed properly. After installation, inspect and test your work to confirm it functions correctly. Finally, clean up the workspace and dispose of any debris.
Adhering to these steps will ensure a successful roof vent replacement, enhancing your home’s ventilation.
Introduction
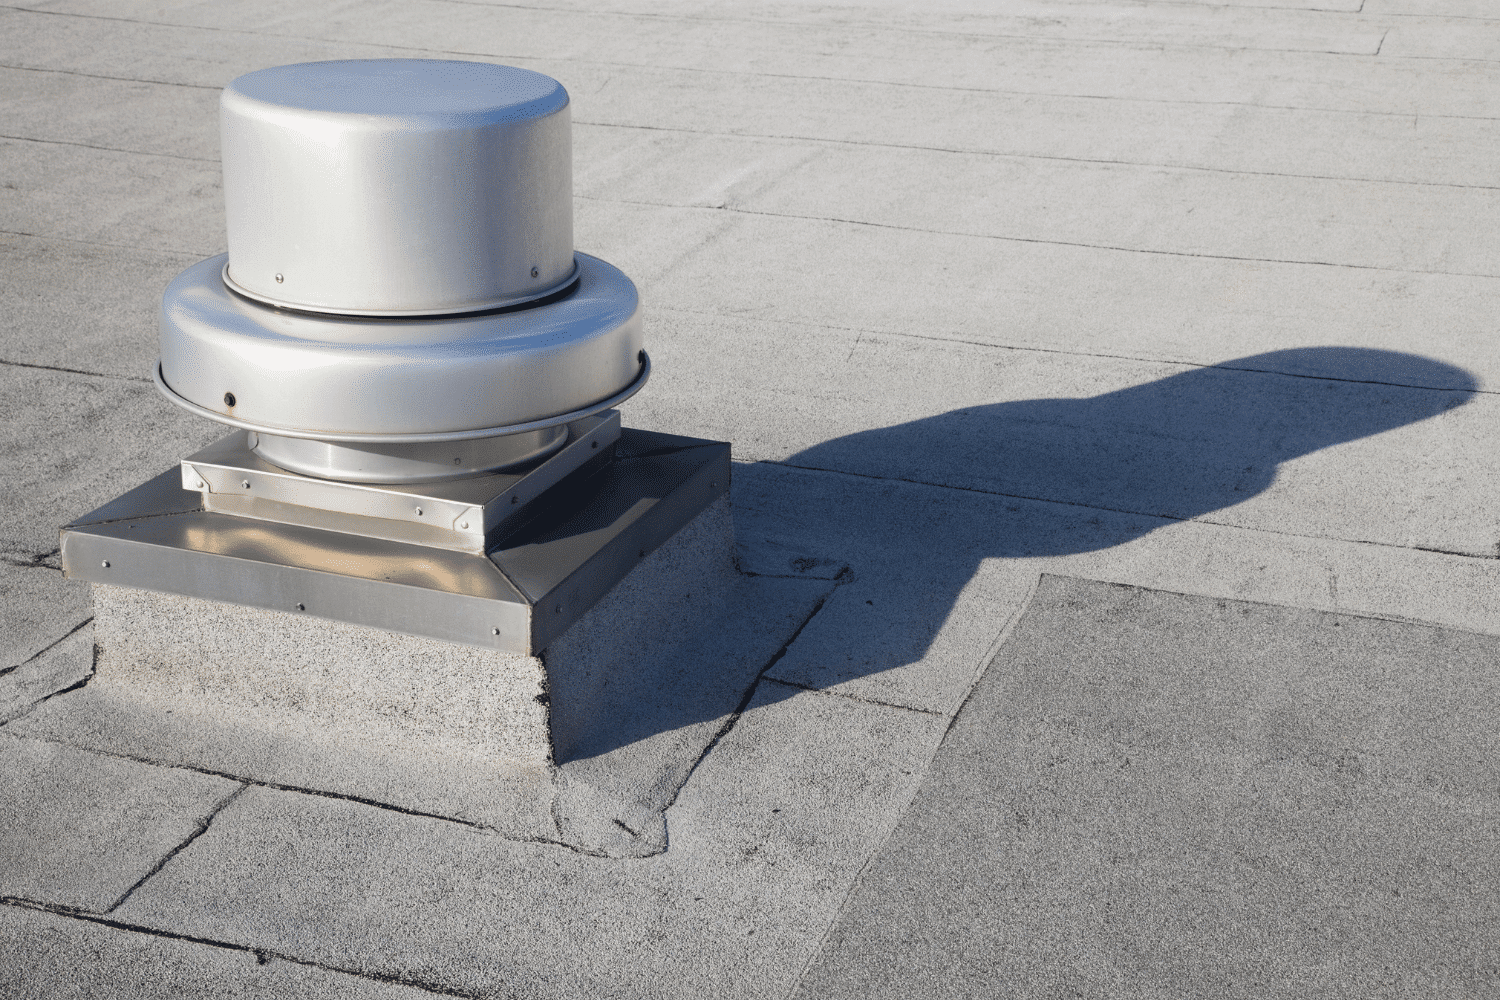
Replacing a roof vent cap can significantly improve your home’s efficiency and longevity. Proper attic ventilation prevents heat and moisture buildup, which can cause mold growth and damage to wood structures. Gather all necessary materials, including a pry bar, flat bar, and utility knife, before starting to ensure a smooth process.
Installing a new vent of the same size as the old one maintains consistent airflow and avoids structural adjustments. Proper installation allows air to circulate freely, protecting your roof and attic from heat and moisture damage. This guide will help you replace your roof vent and protect your home from leaks and weather damage.
With all tools and materials ready, you can begin the process. Avoid working in windy or wet conditions to prevent accidents and ensure safety. A well-installed roof vent will enhance your home’s ventilation and efficiency, making it a worthwhile project.
Inspect Your Roof and Vent
Thoroughly inspect the existing roof vent and surrounding shingles for signs of damage, such as cracks, rust, or leaks. Look for bent or broken vents, holes, or other indications that the vent might be compromised. Identifying these issues before installing the new vent is essential.
Gather essential tools like flathead and Phillips head screwdrivers to facilitate the installation process. Adhere to the manufacturer’s instructions to ensure the new roof vent is securely installed and properly sealed. Ignoring this step can lead to moisture buildup and ineffective ventilation.
Inspect the roof ridge and surrounding shingles for signs of wood rot or other damage. This inspection will help determine if additional repairs are needed before installing the new vent. Ensuring the integrity of the roofing materials around the vent area is crucial for a successful installation and long-term performance.
Prioritize Safety Precautions
Safety is paramount when working on the roof. Gather essential safety gear such as sturdy footwear, goggles, and gloves before starting. Use a stable ladder to access the roof and reach the vent, ensuring it is secure and positioned correctly to avoid accidents.
Avoid working on the roof during wet or slippery conditions to prevent falls and injuries. Using a harness and other fall protection equipment is recommended for safety, especially if the roof is steep or high. These precautions help protect you from potential hazards and ensure a safe working environment.
Remove the Old Roof Vent
Identify how the old vent is secured—whether with screws, nails, or adhesive. Loosen the surrounding shingles with a pry bar or utility knife, being careful to avoid damaging them. This ensures the shingles can be reused, maintaining the integrity of your roof.
Use the appropriate screwdriver or pry bar to carefully remove the fasteners securing the old vent. Be gentle when lifting the old vent out to avoid damaging the surrounding roof area. This prepares the area for the new vent installation without causing additional repairs.
Prepare the Area for Installation
Clear away any debris and ensure the surface is clean and dry after removing the old vent. Inspect the area for any damage or decay, such as wood rot or broken shingles. This ensures the new vent will have a stable and secure base for installation.
Thoroughly clean the area to create a suitable surface for the new vent installation. If required, spread roofing adhesive evenly on the base of the vent to enhance its seal and stability. This preparation is essential for a successful and long-lasting installation.
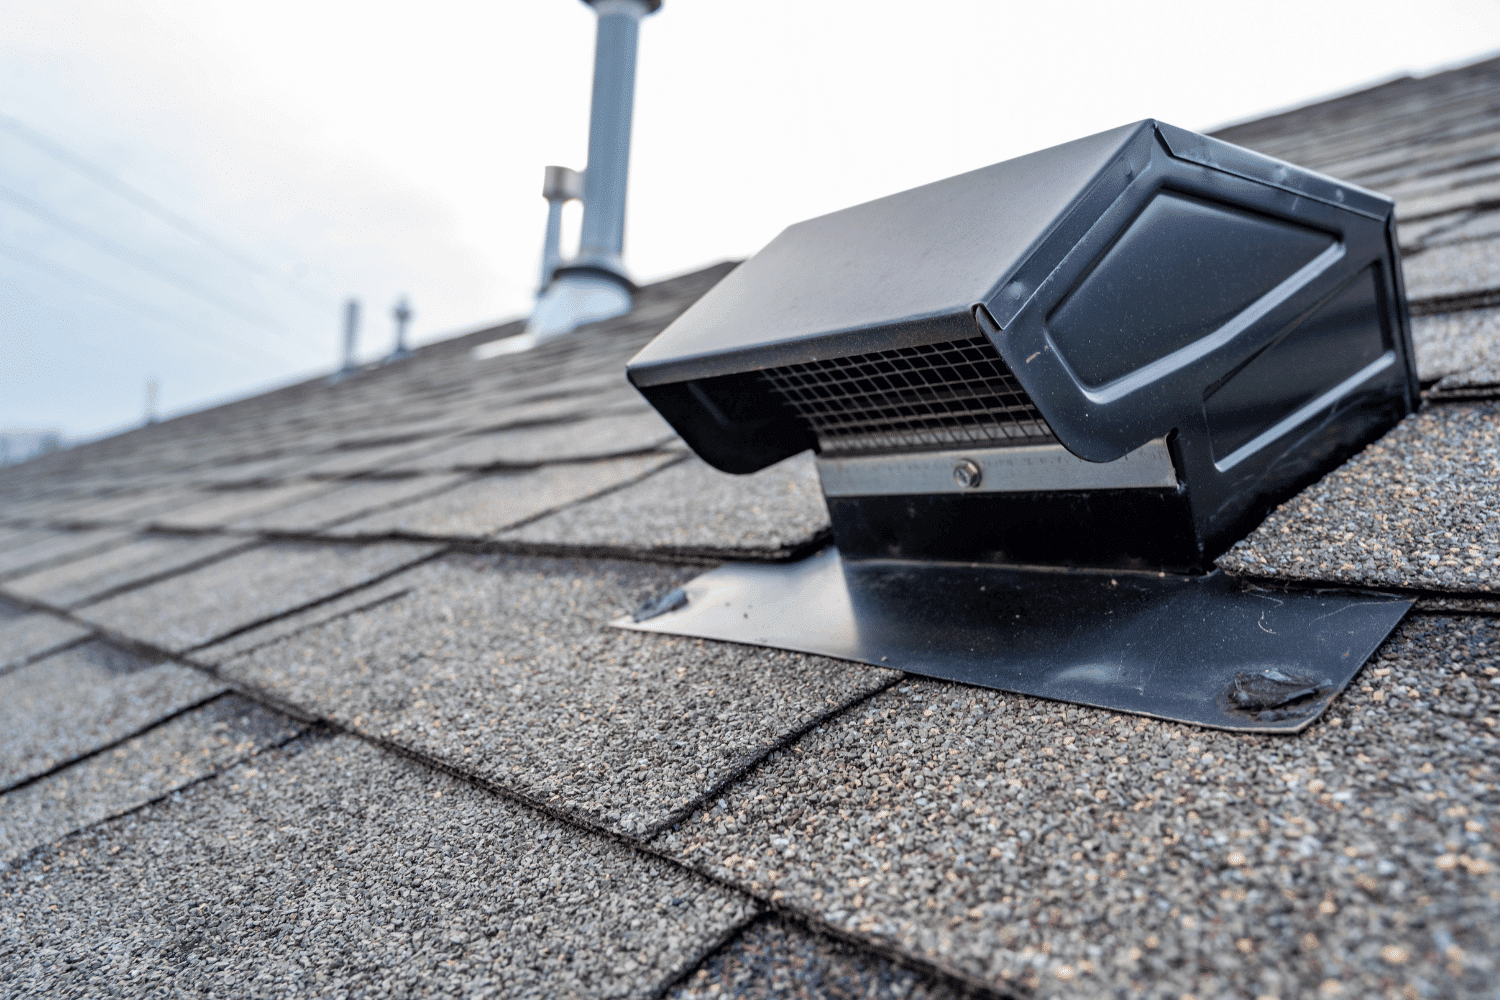
Install the New Roof Vent
Position the new roof vent over the opening, aligning it properly with the roof ridge. Use appropriate fasteners to secure the new vent and install a roof vent, following the manufacturer’s instructions.
Apply sealant around the base of the new vent to make it waterproof and protect against leaks.
Align and Place the New Vent
Position the new vent over the opening, ensuring proper alignment with the roof surface for effective ventilation. Center the flange of the vent under the shingles, covering the hole adequately. This helps maintain the integrity of the roofing system and prevents leaks.
Positioning the vent correctly ensures it functions as intended and provides necessary ventilation for your attic. Proper placement also helps secure the vent effectively, essential for the longevity of your roof.
Secure the Vent
Secure the new vent with 1-inch roofing nails placed every few inches around the perimeter. Follow the manufacturer’s guidelines for nail or screw spacing to ensure the vent is firmly attached. This helps prevent the vent from becoming loose or dislodged during extreme weather conditions.
Using screws or nails to secure the vent ensures a strong and durable attachment. Properly securing the vent maintains a watertight seal and protects your attic from moisture and weather damage.
Seal the Edges
Caulk all the felt around the opening after securing the vent to create a waterproof seal. Applying caulk around the edges prevents leaks. This step ensures the longevity and effectiveness of the new vent.
Nail down the new vent after caulking to ensure it is secure and watertight. Apply roofing sealant around the base of the vent for additional protection against water intrusion. This final step prevents leaks and maintains a dry, well-ventilated attic.
Inspect and Test Your Work
Inspect the entire area for any gaps or loose fittings after installing the new vent. Check for rusted nails and ensure all flashings are intact to prevent future vulnerabilities. This inspection helps identify any potential issues.
Use a hose to spray water around the vent area to test for leaks. This ensures the new vent is properly sealed and functioning as intended. Ensure a snug and secure fit, making any required adjustments.
Regular inspection and testing of the new vent installation maintain its effectiveness and prevent future problems. This is essential for ensuring the longevity and performance of your roofing system.
Final Touches and Clean-Up
Smooth out the caulk for a clean and professional finish after sealing the roof vent. Remove any excess sealant with a damp cloth to maintain a tidy appearance. This attention to detail ensures the installation looks neat and is effective.
Collect and dispose of any debris and old materials properly to ensure a safe work environment. Cleaning up the workspace prevents accidents and leaves the area in good condition. These final touches complete the installation process and ensure your roof vent functions optimally.
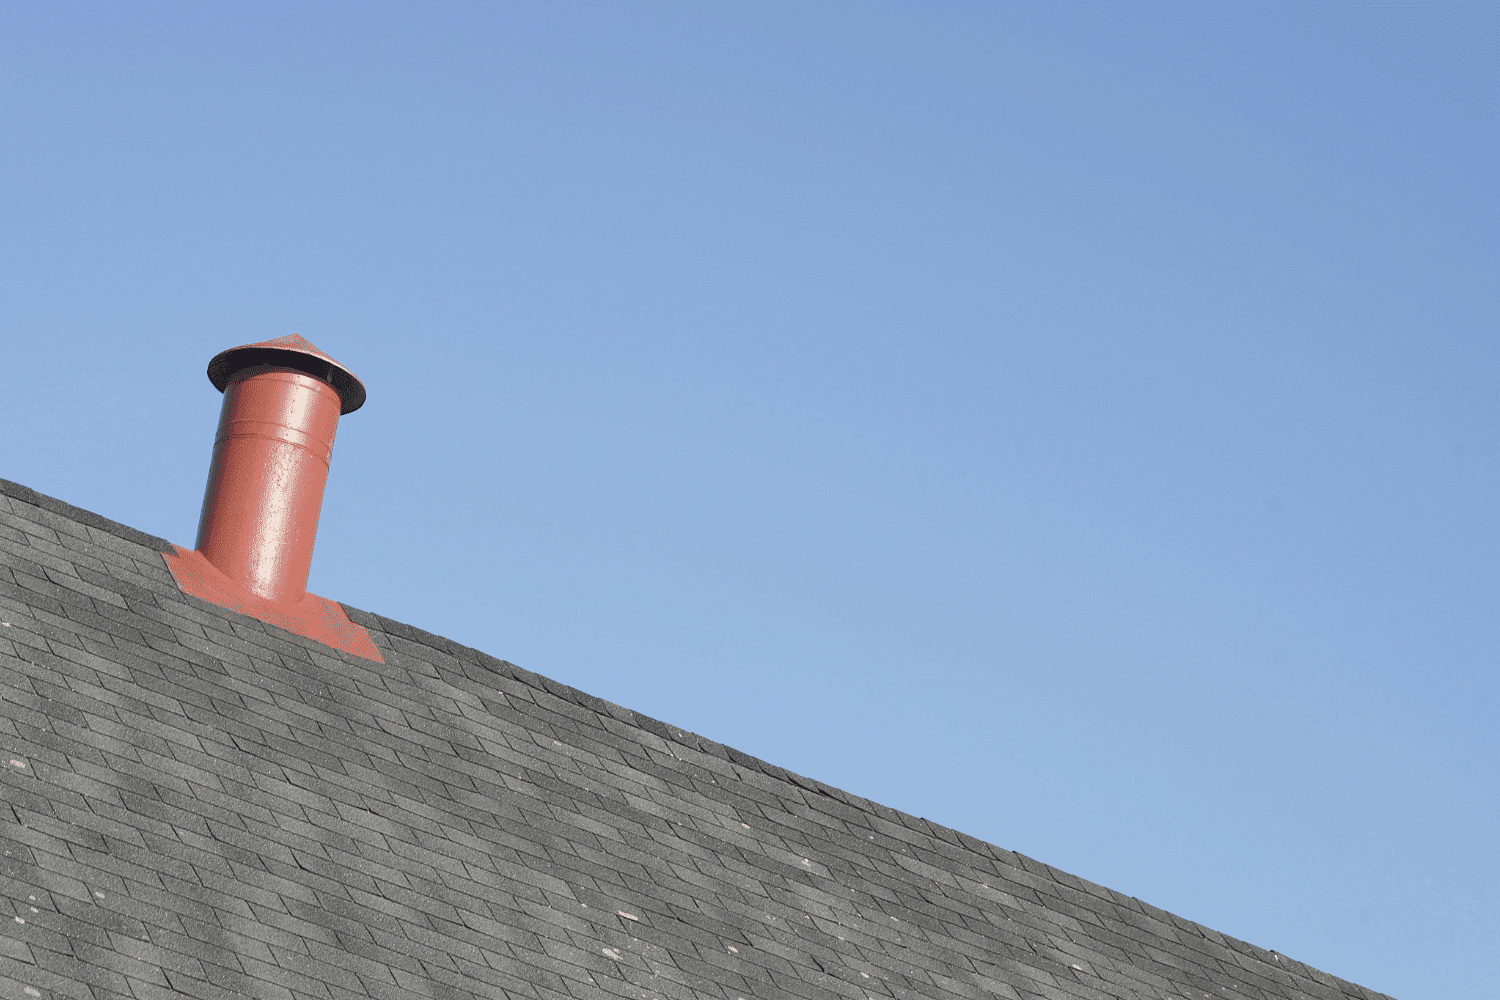
Choosing the Right Roof Vent
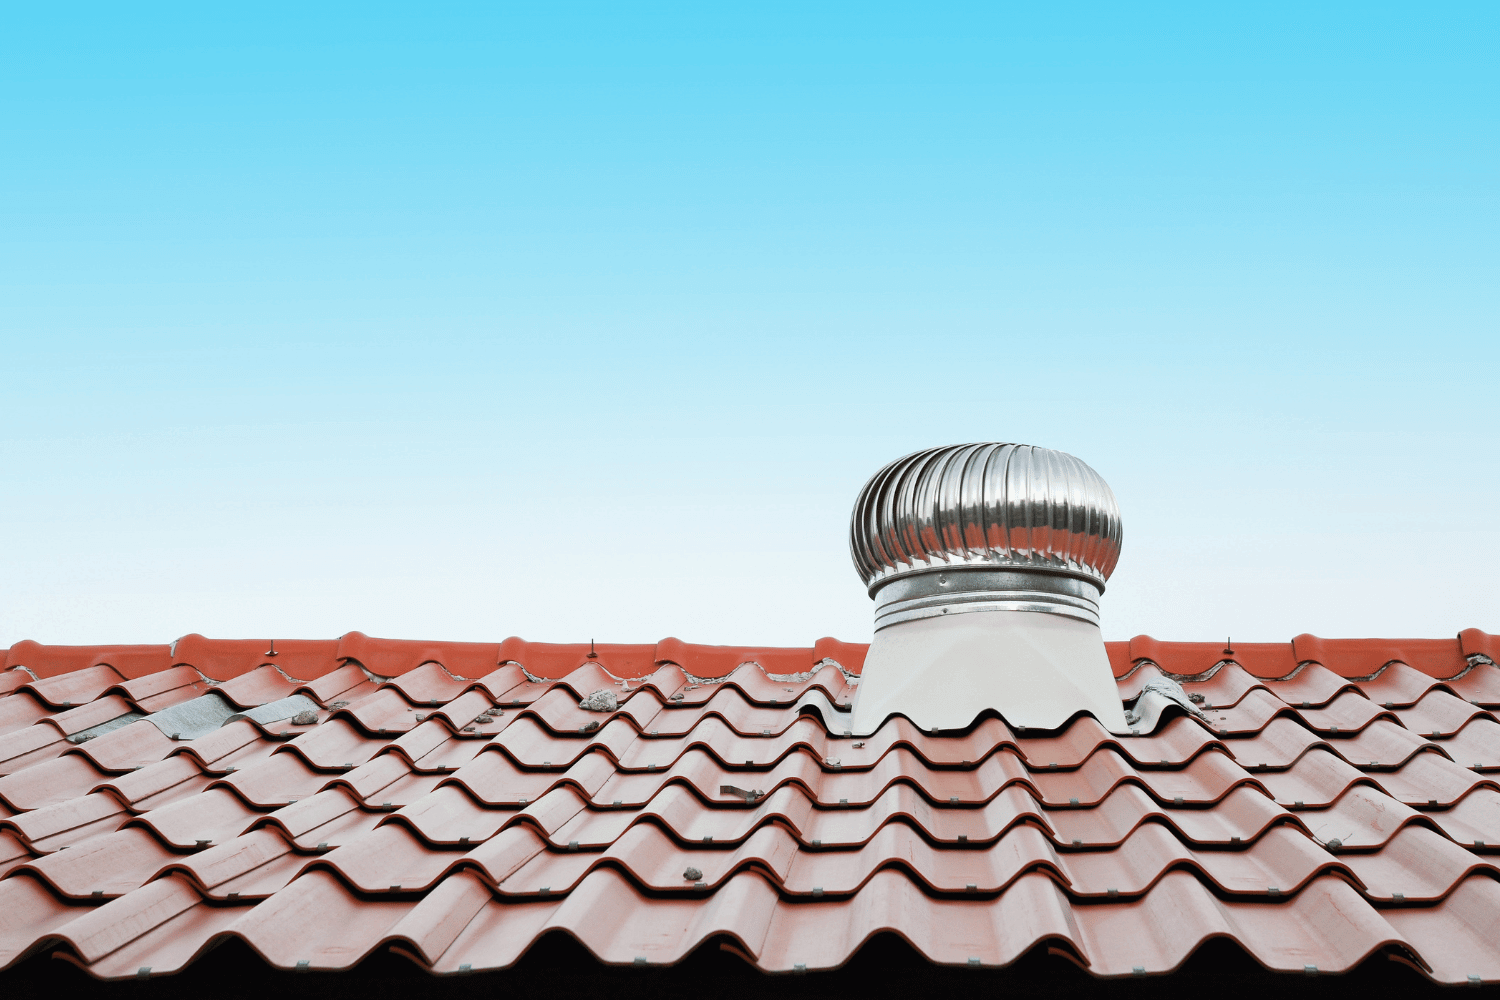
Choosing the right roof vent is essential for proper attic ventilation. Common types include ridge vents, turbine vents, power vents, and gable end vents. Ridge vents are among the most energy-efficient, allowing heat to escape while promoting air circulation. Power vents are beneficial in large attics or areas with less wind, providing enhanced cooling and ventilation.
When selecting a roof vent, consider your ventilation needs, the size of the existing opening, and the specific type of vent that suits your roof. Ensure the vent size is proportional to the attic’s square footage for optimal airflow. Proper placement of roof vents is also crucial for achieving the best results.
Consider the aesthetic aspects of the vent, such as cupola vents and soffit vents, although they are less common and more costly. Choosing the right roof vent ensures your attic remains well-ventilated and your home protected from the elements.
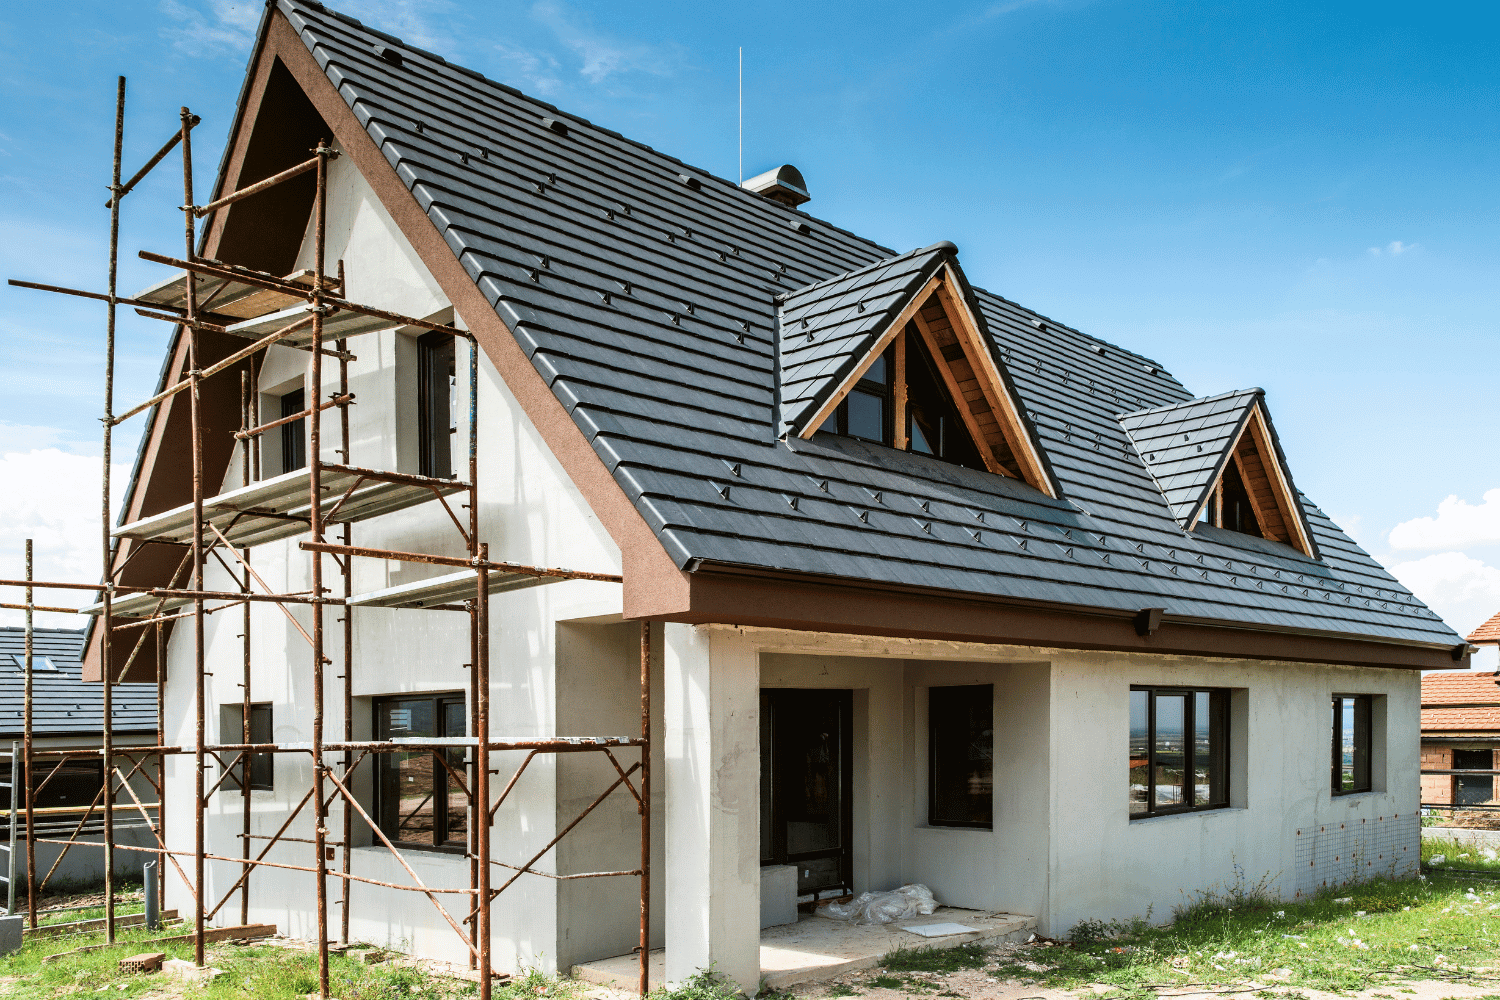
Importance of Proper Attic Ventilation
Proper attic ventilation is crucial for maintaining a healthy and efficient home environment. Installing a roof vent helps regulate attic space temperature and prevent moisture buildup. Effective roof ventilation keeps the attic cooler in summer and drier in winter, reducing the risk of mold growth and structural damage.
Ridge vents are typically the most effective exhaust option, positioned at the roof’s peak for optimal airflow. Inefficient ventilation can cause condensation issues, leading to water damage and mold growth. Proper installation of a roof vent contributes to better energy efficiency and prevents moisture buildup in the attic.
Regular inspection of attic ventilation can identify signs of moisture buildup and potential health risks. Proper attic ventilation prevents overheating and humidity, removes odors, and maintains air quality. Ensuring your attic is well-ventilated protects your home and reduces energy costs.
Summary
Replacing a roof vent is a straightforward process that can significantly improve your home’s ventilation and energy efficiency. By following the steps outlined in this guide, from inspecting the roof to installing and sealing the new vent, you can ensure a successful and long-lasting installation. Proper attic ventilation helps prevent heat buildup, moisture problems, and structural damage.
Taking the time to choose the right roof vent and ensuring it is correctly installed will protect your home and enhance its efficiency. Regular inspection and maintenance of attic ventilation systems are essential for maintaining a healthy and comfortable living environment. Don’t wait—take action today to improve your home’s ventilation and energy efficiency.
Frequently Asked Questions
Why is proper attic ventilation important?
Proper attic ventilation is essential for regulating temperature, preventing moisture buildup, and avoiding mold growth, which protects your home from structural damage and reduces energy costs. Ensuring adequate airflow also contributes to a healthier living environment.
What types of roof vents are available?
Ridge vents, turbine vents, power vents, and gable end vents are the common types of roof vents available, each offering distinct advantages for various ventilation requirements. Consider the specific needs of your home to choose the most suitable option.
How do I choose the right roof vent for my home?
Choose a roof vent by assessing your ventilation needs, the size of the existing opening, and ensuring the vent is appropriately sized for your attic’s square footage to achieve optimal airflow.
What safety precautions should I take when replacing a roof vent?
When replacing a roof vent, it’s crucial to wear protective gear like sturdy footwear, goggles, and gloves, and to use a stable ladder. Additionally, ensure you have a harness and fall protection to prevent accidents.
How can I test if the new roof vent is installed correctly?
To test if the new roof vent is installed correctly, visually inspect for any gaps or loose fittings and spray water around the vent to check for leaks. Ensure all adjustments are made for a secure fit.

")

 Residential Roofing
 Storm Damage
 Multi-Family Homes
