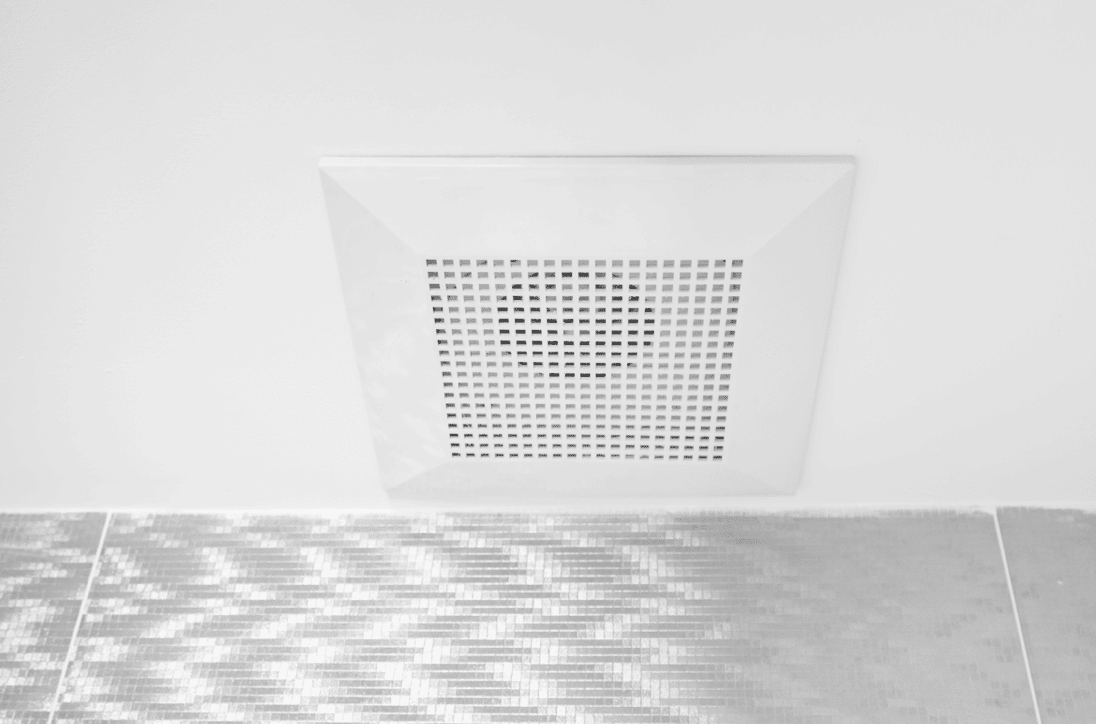
What is the Process of Bathroom Exhaust Fan Installation on the Interior and Exterior of Your Home?
What is the process of bathroom exhaust fan installation? Here we’ll give you a basic run-through on how to install a new bathroom fan.
Basics of Bathroom Exhaust Fan Installation
In order for your bathroom to ventilate properly, you need an exhaust system that connects to the outside of your house. Vent fans accomplish this, even for first-story bathrooms, with vent ducts that lead out over your roof. If you don’t have vents, your bathroom fan won’t get rid of moisture.
These are the basic steps for installing fans.
- Drill a Reference Hole and Mark The Ceiling
The first thing you do is drill a center hole and mark your ceiling with the fan parameters. This requires a little measuring. Here, you’ll make a rectangular outline for the fan’s intake port. - Cut The Outline & Position The Fan
After you map out everything, then you’ll see a hole in the outline, and get the fan set between two joists. This is the framework of the fan that will go up into the ceiling. - Attach The Joists With The Fan
Fully attach the fans to the side joists and secure the fan to the ceiling. - Cut a Duct Hole Through the Wall/Roof
Next, you’ll want to prepare the exterior of the home, either a wall or roof outlet. Cut an appropriate size hole to accommodate the vent duct. Attach the duct from the fan to the exterior duct hole. - Install the Wall Cap & Wire Connections
Then, you’ll want to install the wiring, attach a wall cap, and secure everything properly with gaskets and duct tape wherever necessary. - Attach and Secure The Fan Grille
Finally, secure the blower motor and the grille framework onto the fan. After fastening all the screws and making sure everything fits into the ceiling, turn the power back on and test the bathroom fan.
Is Installing a Bathroom Fan Difficult?
How hard is this job?
It depends a lot on the size and complexity of your home. For a flat-roofed, one-story home, it shouldn’t be difficult. However, the hard part involves effectively running the vent to the outside of your room. That tends to require more handyman skills.
We recommend calling the pros and Rapid Roofing for an inspection and quick consultation. If nothing else, we’d be able to do it much faster than the DIY approach. Making a mistake could cost you if there’s something wrong with your roof or siding. That’s one of many reasons why you save money by having your roof inspected regularly.
Other Ventilation Aspects for Bathroom Fans
What else should you know about bathroom exhaust fans?
Some homeowners want to know if they can vent their bathroom into their attic. No, because this is just moving the problem (moist air) from one area to another. If you let moist air ventilate up to your attic, all of the wooden material will suffer wood rot.
How much does it cost to install a vent fan? Depending on the complexity, you can expect it to cost roughly $50 to $500.
Can you wire the bathroom vent fan to the same switch as the bathroom light? Yes, it’s mostly a matter of stopping the electrical panel and moving the wires into one spot. When in doubt, consult an electrician for this task.
Rapid Roofing & Bathroom Exhaust Fan Installation
Don’t forget that Rapid Roofing covers a wide variety of installation tasks whenever we replace your roof. Since it’s a comprehensive job, we never want to leave important aspects, like ventilation and exhaust, incomplete. We even do siding sometimes in coordination with some of our roof replacement efforts.
Rapid Roofing is fully licensed, bonded, and insured to perform work on your home’s exterior and interior. We’re also in good standing with Better Business Bureau (BBB) and receive a 4.9/5.0 rating on Google Reviews.
Contact us any time with any questions you may have regarding the process of bathroom exhaust fan installation.


 Residential Roofing
 Storm Damage
 Multi-Family Homes