The Ultimate Guide to James Hardie Shingle Siding Installation
Planning to install James Hardie shingle siding? This comprehensive guide will walk you through the entire process. From preparing your materials to the final touches, we cover every step to ensure your project is a success.
Key Takeaways
-
Preparation, including measuring, marking, and using the right tools, is essential for a successful James Hardie Shingle Siding installation.
-
Proper installation techniques, such as aligning starter strips, maintaining overlaps, and securing corners, contribute to the siding’s durability and aesthetic appeal.
-
Regular maintenance and inspections are crucial to prolong the lifespan of James Hardie siding, while hiring professionals ensures quality installation and compliance with building standards.
Preparing for Installation
Preparation is key before starting the actual installation. This stage sets the foundation for a smooth process by ensuring all necessary materials, such as starter strips, are on hand and the correct gap length is maintained. A level surface is also essential for optimal results. The finishes on the materials are factory applied, ensuring superior color consistency, adhesion, and durability.
A well-prepared base simplifies installation and ensures a durable, aesthetically pleasing result. Proper surface preparation and material gathering are the first steps to a successful project.
Measuring and Marking
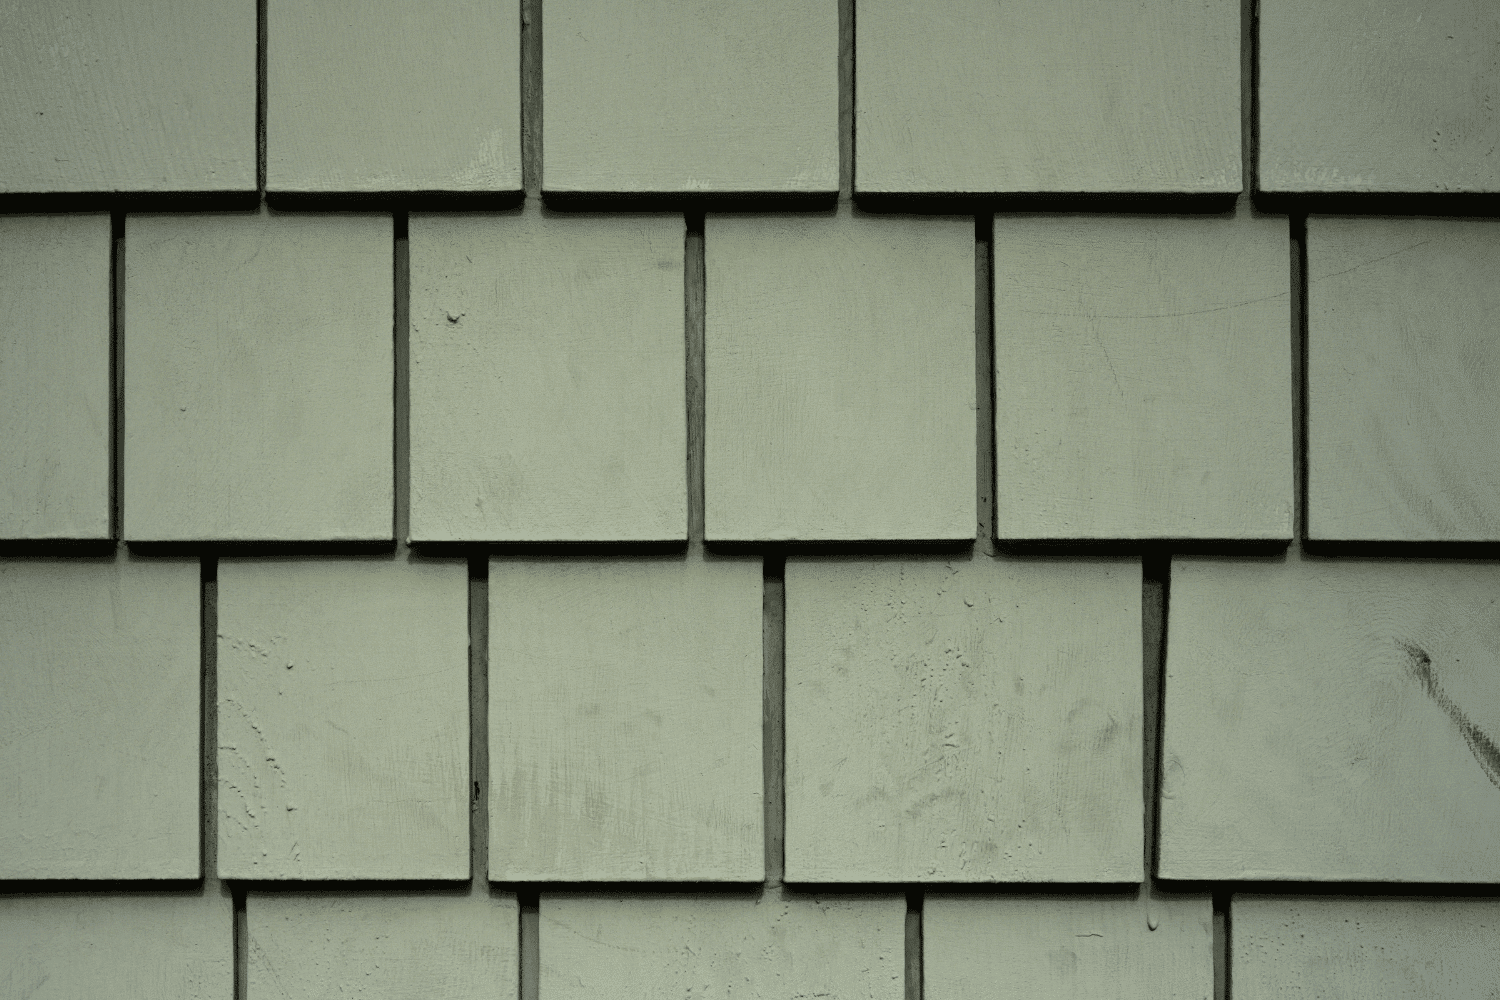
Accurate measurements and marking are vital for correctly positioning the siding panels. Using chalk lines ensures precise alignment of the shingles on the wall. Snapping chalk lines every 6 inches maintains consistent overlaps and staggered placement of the shingles.
Snapping chalk lines every 6 inches vertically is essential for even stacking when installing staggered edge siding. This method ensures a professional, clean appearance, avoiding unevenness or gaps.
Choosing the Right Tools
Using the right tools significantly improves siding installation. Essential tools include a pneumatic siding nail gun and a circular saw, which is particularly important for cutting shingle siding to the required lengths.
The right tools not only improve results but also enhance safety and minimize effort during installation. This leads to a smoother, more efficient process, reducing errors and potential hazards.
Installing James Hardie Shingle Siding
Once preparation is complete, installation of James Hardie Shingle Siding can begin. This involves removing old siding, cleaning the surface, and gathering necessary materials. Installation starts with aligning the starter strip for an optimal shingle application.
Using starter strips ensures durability and a seamless finish. Carefully managing corners and edges contributes to a professional appearance in your siding installation.
Laying the Starter Course
Laying the starter course is the first step in the installation process. The starter strip can be made from HardiePlank® lap siding, using dimensions of either 8-1/4″ or 9-1/4″. Start with a 1-1/4-inch starter strip, followed by an 8-1/4-inch starter course. Aligning the bottom edges of the trim and siding is crucial for a uniform appearance.
Maintaining alignment during the installation of the starter strip and the first course is key to achieving the best appearance. This attention to detail at the start sets the stage for a visually appealing and durable finish.
Fastening Techniques
Proper fastening techniques ensure the longevity and performance of your shingle siding. A consistent nailing pattern allows for material expansion and contraction. Correctly cutting and fitting shingle siding at inside corners ensures a seamless transition and prevents water infiltration.
Caulking in the joints, especially at inside corners, prevents water penetration, ensuring a secure installation. These techniques contribute to a robust, professional-looking siding job.
Overlapping and Staggering
Creating a staggered pattern involves careful measurement and cutting, ensuring overlaps of at least 1-1/2 inches for effective water shedding. Proper overlaps act as a barrier against water intrusion, enhancing the durability of the shingle siding.
The staggered edge pattern adds visual interest and enhances the overall appearance of the siding. This attention to detail ensures your siding is both functional and aesthetically pleasing.
Handling Corners and Edges
Managing corners and edges is vital for achieving a seamless, professional appearance in your siding installation. If the shingle panels do not lay flat, pin backs positioned 3/4-inch from the bottom edge of panels can be used.
These techniques ensure proper adhesion of the siding to the wall, enhancing its overall look and durability. Careful handling of corners and edges significantly impacts the final result.
Inside Corners
Ensure wall surfaces are clean and dry to promote effective adhesion for inside corners. A snug fit is necessary when installing shingles around inside corners to avoid gaps.
Using appropriate fastening techniques while aligning shingles at the corner ensures a secure installation. Additionally, caulking in the joints of inside corners helps prevent water penetration.
Corner Boards and Trim Products
Corner boards strengthen the installation and add a distinct aesthetic element. They provide structural support and enhance visual appeal by creating a polished look against the siding.
Using corner boards and trim products together enhances both the durability and visual quality of the siding installation, ensuring a robust and attractive finish.
Finishing Bottom Edges
Proper alignment of bottom edges is critical for a uniform, professional appearance of the installed siding. Using a level or chalk line helps achieve precise alignment. Check alignment frequently during installation to maintain consistency.
Installing a moisture barrier along the bottom edges significantly reduces the risk of water infiltration. Additionally, caulking around the bottom edges seals gaps that could allow moisture to penetrate.
Finishing the bottom edges with trim products can enhance both the look and durability of the siding. Aesthetically pleasing techniques like consistent spacing and overlapping details at the bottom edges improve the overall appearance on the other end.
Maintenance and Care
Regular maintenance of James Hardie shingle siding is crucial for its longevity and visual appeal. Regularly checking and cleaning gutters prevents water damage, maintaining the siding’s integrity across seasons.
Touch-up painting every five years helps cover chips or wear on the siding, preventing moisture damage. Inspecting for cracks or gaps and sealing them is essential to prevent moisture damage during wetter seasons.
Cleaning and Inspection
Clean Hardie siding every 6-12 months with a mild detergent and a soft brush to avoid damaging the finish. Seasonal cleaning prevents dirt buildup and maintains its aesthetic appeal.
To clean oil or grease from the siding, use mild liquid dish soap mixed with water and a soft cloth, rinsing thoroughly. For mildew removal, use a mildew-specific cleaner and a soft sponge, following the instructions carefully.
Repairing Minor Damages
Addressing minor damages often doesn’t require full replacement. For minor scratches on ColorPlus siding, touch-up kits are available to cover small blemishes.
Finishing bottom edges properly prevents water infiltration and protects the siding from moisture damage. Maintaining a minimum 1/4-inch space between siding and trim is crucial for effective moisture management.
Seasonal Maintenance
Seasonal maintenance is crucial to protect James Hardie siding from weather-related issues. Proper maintenance prevents deterioration and extends the siding’s lifespan. Care methods should adapt to the specific challenges of each season.
Implementing seasonal maintenance significantly improves the aesthetic appeal and structural integrity of your siding.
Finding Professional Help

Professional assistance greatly enhances the efficiency and quality of James Hardie Shingle Siding installation. Professionals bring expertise and experience, ensuring the installation meets industry standards and is completed without unnecessary delays or mistakes.
Professional installers are familiar with local building codes, ensuring compliance throughout the project. This guarantees a high-quality finish and provides peace of mind, knowing your installation is in capable hands.
Benefits of Hiring Professionals
Hiring professionals to install James Hardie Shingle Siding offers numerous advantages. Professionals save time by efficiently managing the entire installation process. Their expertise reduces mistakes, ensuring a smooth installation.
Hiring professionals leads to a reliable, high-quality result, making it a worthwhile investment for homeowners looking to enhance their home’s exterior with James Hardie Shingle Siding.
Locating a Local Dealer
Local dealers for James Hardie products can be found through the official website’s dealer locator tool. This tool helps identify reputable dealers who can provide necessary materials for your siding project. When choosing a contractor, look for established companies with a solid reputation, proper licensing, and insurance.
Verify a contractor’s experience with James Hardie products to ensure they have the necessary knowledge and skills for a successful installation. Checking their portfolio of previous projects can also provide insight into their workmanship quality.
Contractor Selection Criteria
Choosing the right contractor is crucial for quality craftsmanship when installing James Hardie Siding. Seek local contractors experienced with James Hardie products. Their expertise, efficiency, and access to quality materials can significantly enhance your siding project.
Research local dealers for James Hardie products who can connect you with certified contractors. These contractors often offer warranties, ensuring protection for your siding investment and providing peace of mind.
Summary
In conclusion, installing James Hardie Shingle Siding is a meticulous process that requires careful preparation, precise measurements, and proper techniques. From laying the starter course to handling corners and edges, each step plays a critical role in achieving a professional and durable finish. Regular maintenance and seasonal care are essential to protect your investment and maintain the best appearance of your home.
Whether you choose to tackle the installation yourself or hire professionals, understanding the process and having the right tools and materials on hand will ensure a successful project. Embrace the beauty and durability of James Hardie Shingle Siding and transform your home’s exterior with confidence.
Frequently Asked Questions
What was the main problem with fiber cement board siding?
The main problem with fiber cement board siding is its susceptibility to moisture issues and the difficulty of installation according to manufacturers’ guidelines. Additionally, it requires ongoing maintenance and offers limited customization options.
How to stagger Hardie shingles?
To properly stagger Hardie shingles, begin by cutting 16 inches off the first piece of the second row, then install a 32-inch panel with the cut end against the trim. For the third row, cut 32 inches off the first piece and use the resulting cut pieces to start the next row, ensuring a staggered pattern throughout.
What kind of nails do you use for Hardie shingles?
For Hardie shingles, it is recommended to use 2 1/4 or 2 1/2 inch hot-dip galvanized or stainless steel siding nails to ensure proper installation and prevent issues like cracking or inadequate hold.
How are Hardie shingles installed?
Hardie shingles must be installed with the widest part facing downwards, ensuring a 1/4 inch gap between the bottom of the siding and the flashing. Properly secure them to a minimum of 7/16 inch thick sheathing for optimal performance.
What is the first step in installing James Hardie Shingle Siding?
The first step in installing James Hardie Shingle Siding is to prepare a level surface by removing any old siding, ensuring a clean base for the new installation.


 Residential Roofing
 Storm Damage
 Multi-Family Homes
