The Skylight Installation Process
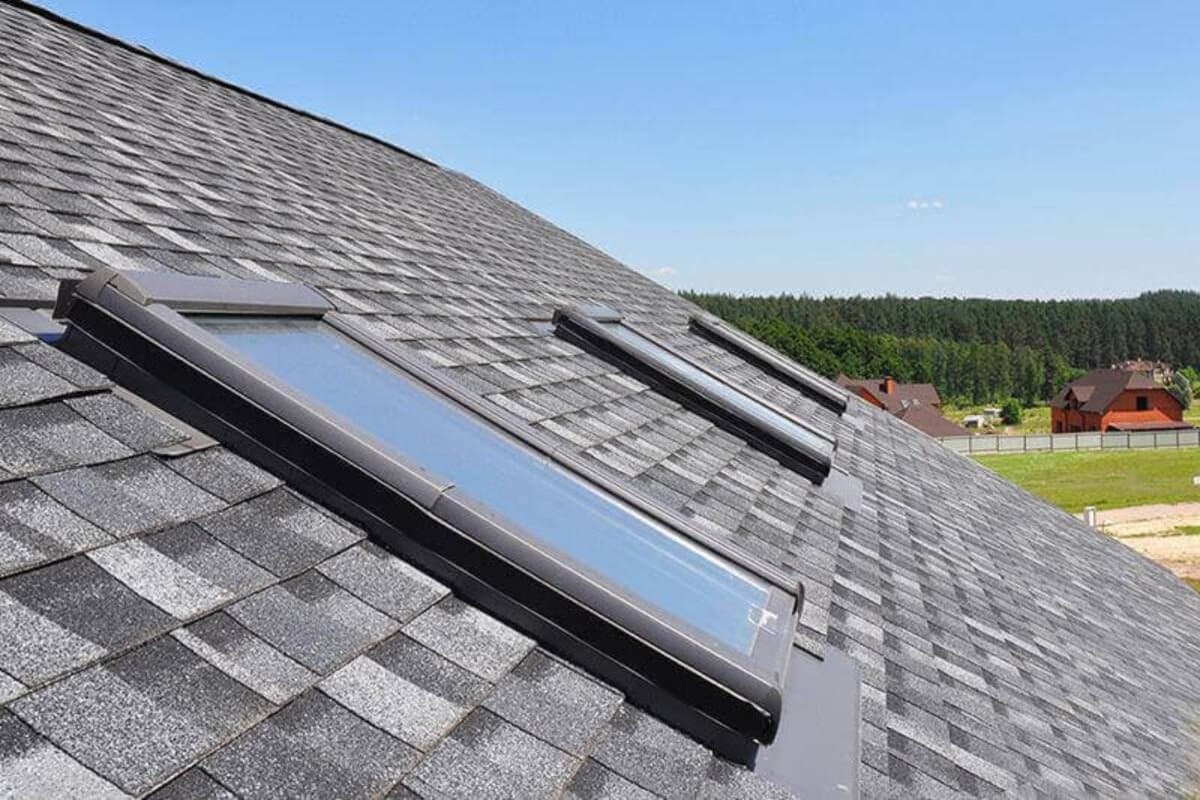
Getting a new skylight can be exciting, but preparing for skylight installation can be difficult. Here’s what you need to know to get ready to install a new skylight, and what to expect through the process.
Skylight Installation Step-by-Step
Whether you’re installing one skylight or many, the process is basically the same. Remember that you need to keep the structure of your home in mind, you don’t want to install skylights anywhere you might be interfering with support beams or other critical structures.
Choose Your Location
Finding the right location for skylights in your home can be tricky. There are a lot of different factors to consider when you’re picking the right location for a new skylight, including how much light exposure it has, how much heat it can bring into your home, and avoiding critical support structures.
Having an idea where you want your skylights is important, but your contractor will likely help finalize the decision based on the structural integrity of your home.
Check Local Regulations and Requirements
Your contractor can also help you make sure skylight installation is an option for your home. Both local building code and HOA requirements can complicate installing a skylight or might require specific sizes or framing for skylights that wouldn’t otherwise be necessary.
It’s important to make sure your new skylight will meet all regulatory requirements so that it can be a permanent addition to your home. It’s also important to meet requirements so you can make sure your skylight will add value to your home.
Create an Opening
Once you know exactly where your skylight is going to go, your contractor will create an opening on the inside of your home that’s the right size and shape for the new window.
Install Skylight Framing
Before you have any work done on the roof, the contractor will install the framing that will help support the skylight on the inside.
Prepare the Roof
You can’t just cut a hole in your roof and expect that to work. To install a skylight there are a few steps to get the roof ready to go and make sure the roof around the skylight will continue to work properly after the installation.
Cut Through The Roof
The next step is to actually cut through the roof to get it ready for a skylight. Cutting the right size and shape of the hole for the skylight, the support structure, and the insulation around it is critical. The next steps should happen very quickly after this step since you don’t want to have an open hole in your roof any longer than absolutely necessary.
Install Skylight
Once the roof is prepared and the hole is cut, the actual skylight will be installed. Getting the actual window in place isn’t necessarily the end of the process.
Install Ice and Water Protection
Ice and water protection, or the ice and water shield, are important for the long-term health of your skylight. That’s because ice and water can create weaknesses in the roof around a skylight, and can create and widen cracks around your skylight.
Add Sill and Step Flashing
The sill and step flashing are the finishing steps on the outside of your skylight, including adding layers of protection around your skylight, adding shingles to restore full function to your roof, and, if you choose a solar model, installing the solar panel and connecting it to your skylight.
Repair Drywall/Ceiling Materials
The very last step, once the outside of your skylight has been finished, is repairing the drywall and ceiling around the interior of the skylight. This includes repairing any area that has gaps around the skylight, or any other ceiling damage that might have occurred during installation.
Want to Improve Your Home With A Skylight?
Rapid Roofing is here for all your roofing installation and repair needs. Including skylights! If you’re ready to install a skylight in your home, contact Rapid Roofing to get started!

